I've always had a soft spot in my heart (or my head) for old SparcStations, much to
the chagrin of a few of my friends. But alas eventually nostalgia has to give way
to practicality and the old stuff must go. Or does it...
Recently with the release of the new PC form factor
Mini-ITX, a new world of
possibilities for small compact computers has been reopened. The first few offerings
were based on the VIA Eden processor, and well, it sucked. A short time later VIA
upped the ante with their new C3 processor which often scores very close to a celeron
at the same clock speed. VIA also updated the chipset to support floppy, DVD playback,
USB2.0, Firewire, and DDR memory. For the low price of $129 I could now buy a 933 MHz
PC that was a little bigger than a CD. Here is the results of my efforts:
Now lets take a step by step approach to creating this machine.
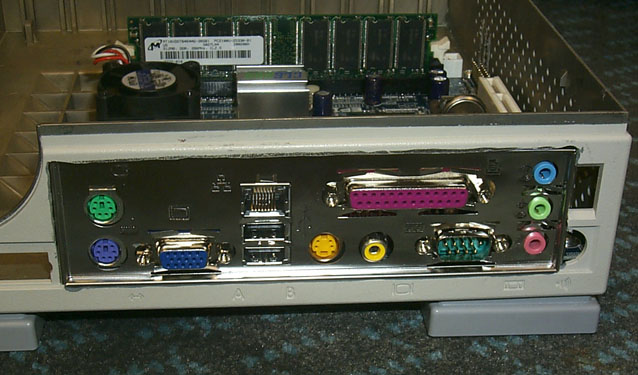
First I needed to locate the cutout for the ATX port plate. I did this by
putting the plate on the board and placing the board in the case where it would
fit. Then I marked the location with a pen and removed the plastic with my dremel
tool. Here it is just sitting the the case.
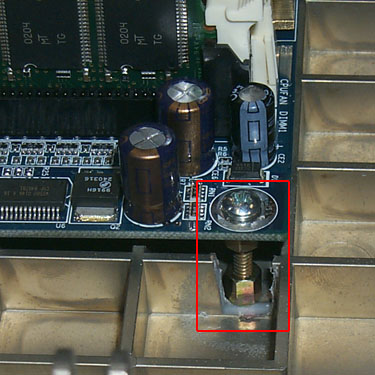
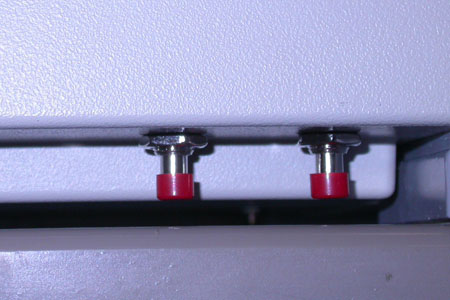
Once that was done, I could locate the holes for the motherboard screws and install
standoffs.

I had to trim some of the webbing out of the case.
I also had to extend the ATX power cord. ($10 at Halted)

In the top case I mounted a Vantec Stealth fan and routed the power cord for the
PSU. I had to trim much of the rubber off of the cord to fit it thought the hole
in the top case. In retrospect, a Panaflow fan would have been better as they are
much quieter than the Vantec Stealth fans.

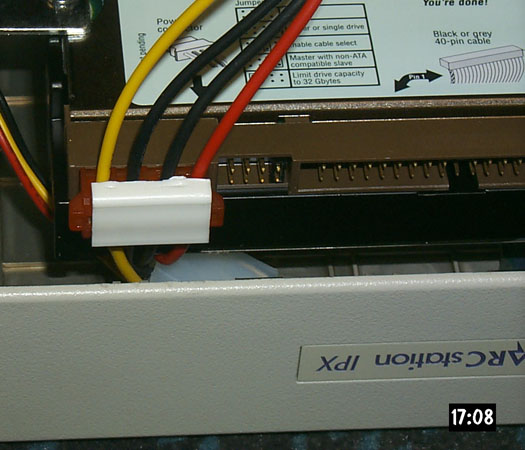
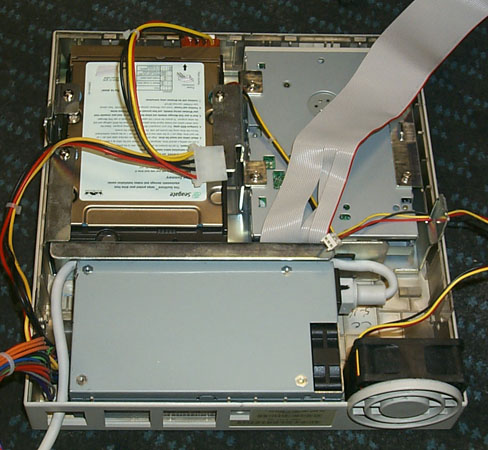
The molex power connector on the cable at the hard drive position was too long
to fit inside the top cover, so I stole the original connector from the IPX power
supply and crimped it on the new power cable. The original connector is tucked
under the hard drive.
The top half complete! Yay!
Here are the cables for the power, reset, and LED's.
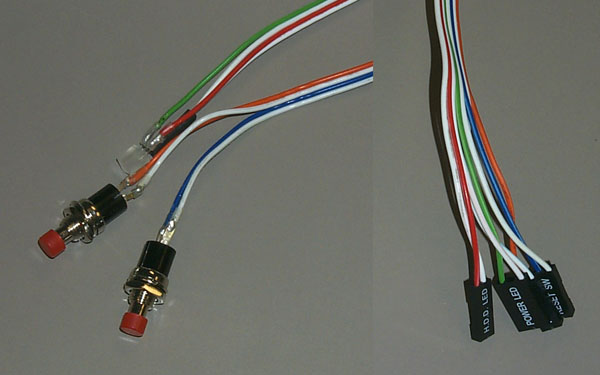
The power and reset buttons are mounted on the bottom so they won't be
bumped.
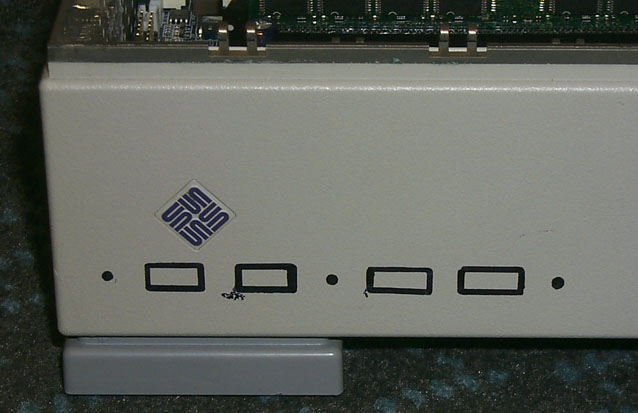
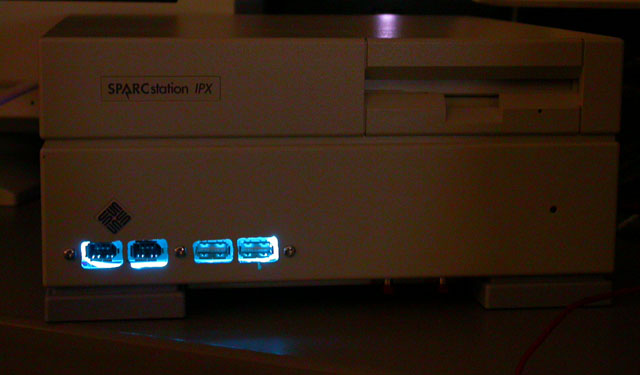
Next, I marked the locations for the front panel firewire and USB ports. Cutting
these out proved to be a huge pain in the butt. The plastic is too hard for
hand tools, and my dremel cut tended to adhere and grab during the cuts. These didn't
turn out as well as I hoped, but they do function OK.
I compensated for my incompetent cutting with some EL wire
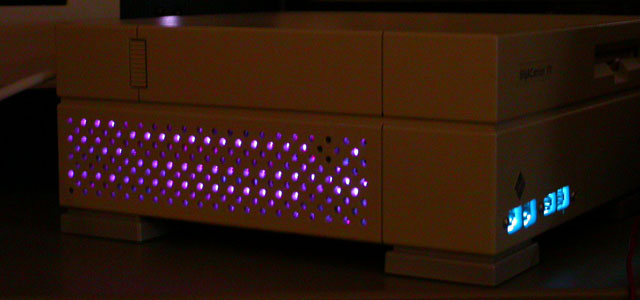

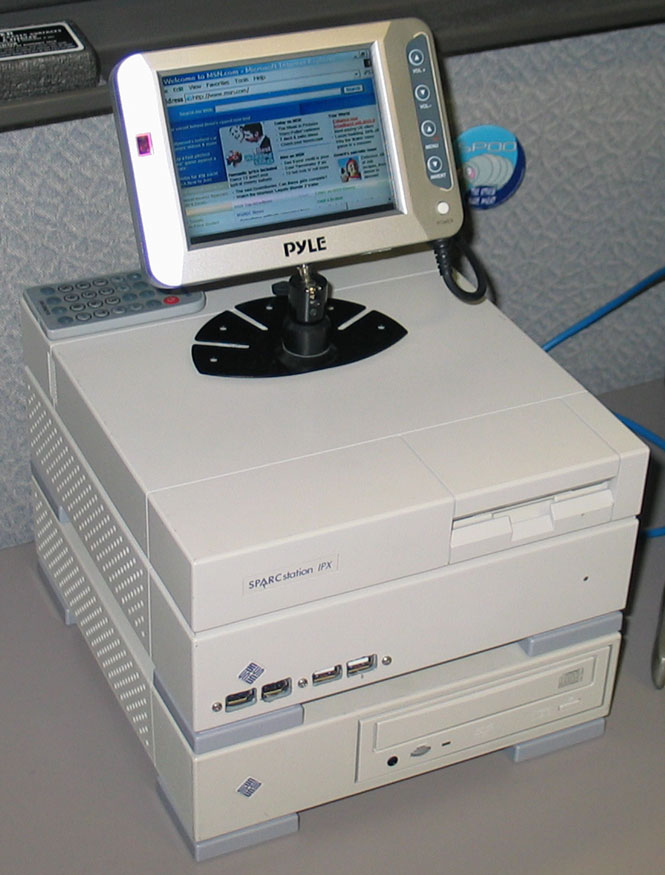
I mounted a cheap LCD for a car AV system on the top. This meant making a miniDIN 5
cable harness that went to the composite video, +12V, headphone jack, and ground.
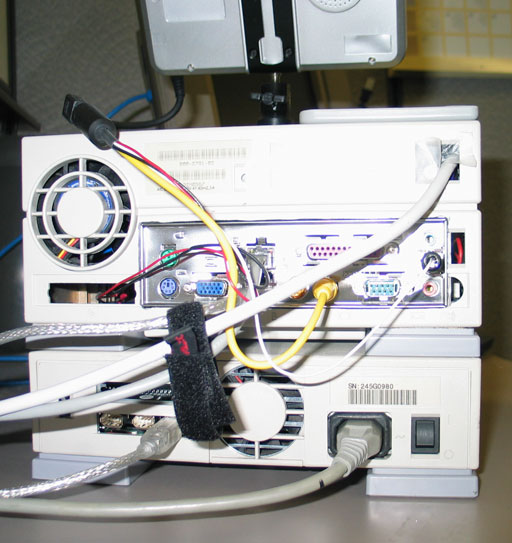
Finally I put a firewire/USB 2.0 to IDE bridge board in a Sun 411 case with a
Toshiba combo drive. The 411 matches the style of the IPX case perfectly. I'm using
USB 2.0 because firewire isn't bootable on this board.
No pages or images anywhere within my site may be linked to on another web page without my express written consent.